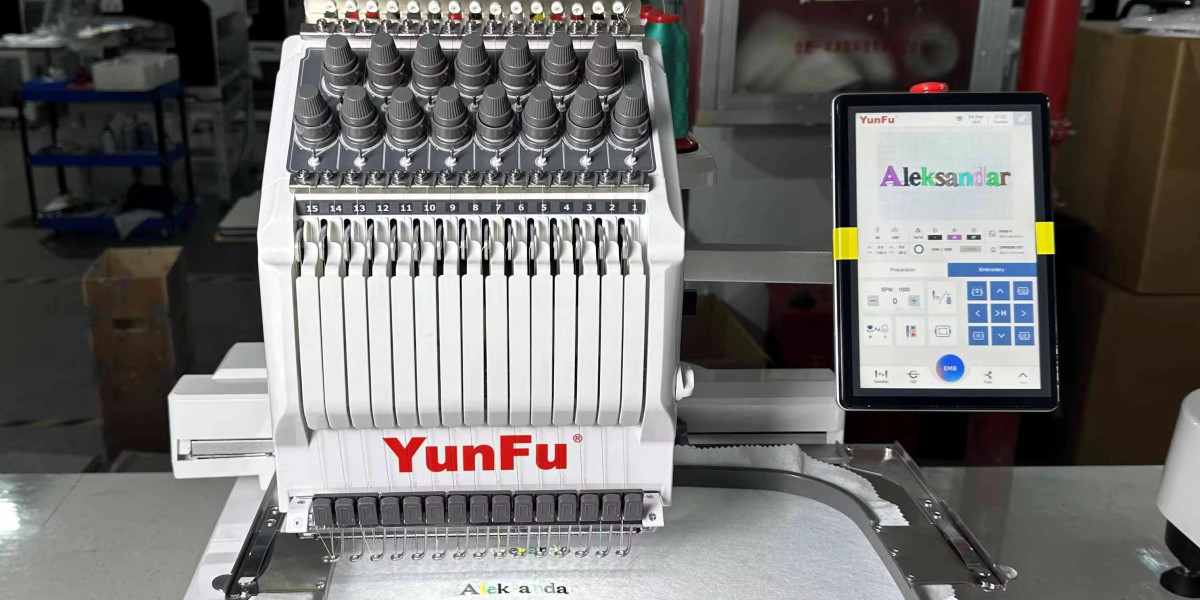
So, you’ve found the perfect image and you’re ready to see it come to life on your Melco or Bernina embroidery machine. The process to Convert JPG to EXP can feel like a daunting technical hurdle. It’s not as simple as a quick file conversion; it’s an act of translation from pixels to stitches. Many beginners rush in, only to be met with tangled threads, broken needles, and a lot of frustration.
The EXP format is the specific language your machine understands, and a poorly "translated" file leads to disappointing results. But don’t worry! Most of these headaches are completely avoidable. By steering clear of a few common pitfalls, you can dramatically increase your chances of a clean, professional-looking embroidered piece. Let’s dive into the five biggest mistakes to avoid when converting your JPG to an EXP file.
Mistake #1: Starting with a Low-Quality or Complex Image
You’ve probably heard the phrase "garbage in, garbage out." Nowhere is this truer than in machine embroidery. The most critical mistake happens before you even open your digitizing software: choosing the wrong image.
Why it’s a problem:
A JPG is a raster image, meaning it’s made of thousands of tiny pixels. Embroidery, on the other hand, is built from solid blocks of color and defined stitch paths. If you start with a blurry, low-resolution, or overly detailed photo, the digitizing software (or the digitizer) has to guess at the details. This almost always results in a messy, stitch-heavy design filled with unwanted colors and jumbled elements.
How to avoid it:
Seek Simplicity: The best images for conversion have clear, bold lines, high contrast, and minimal detail. Think logos and graphic art, not family portraits.
Demand High Resolution: Use the largest, highest-quality JPG you can find. A tiny, pixelated icon will never digitize well.
Edit First: Use a basic image editor to your advantage. Increase the contrast, remove a busy background, and simplify the design. If you can trace the main elements easily with a marker, it’s a good candidate.
The Bottom Line: Your embroidery design can only ever be as good as the image you start with. Invest your time here first.
Mistake #2: Relying Solely on Auto-Digitizing Software
It’s the siren call for beginners: the "Auto-Digitize" button. It promises a one-click solution to Convert JPG to EXP. While this feature has its place for ultra-simple graphics, relying on it is a fast track to mediocre results.
Why it’s a problem:
Auto-digitizing software uses algorithms to trace your image. It doesn’t understand context, texture, or how thread interacts with fabric. It will often:
Use an excessive number of unnecessary stitches.
Choose inappropriate stitch types (using fill stitches where satin stitches would be better).
Ignore crucial steps like underlay, leading to fabric puckering.
Create a design that is inefficient and time-consuming to stitch.
How to avoid it:
Respect the Button: Use auto-digitize as a starting point for very simple shapes, not as a final solution. Be prepared to heavily edit the resulting file.
Embrace Manual Control: If you’re serious about embroidery, learning the basics of manual digitizing is the single best skill you can develop. This gives you control over stitch type, direction, and density.
Hire a Pro: For important projects, bypass the software altogether and send your JPG to a professional digitizing service. They will manually create a clean, efficient EXP file tailored to your specific fabric.
The Bottom Line: The auto-digitize function is a basic tool, not a magic wand. Great embroidery requires human judgment.
Mistake #3: Ignoring the Importance of Underlay
This is the most common technical mistake made by new digitizers. Underlay is the foundation of your embroidery, and skipping it or setting it incorrectly is like building a house on sand.
Why it’s a problem:
Underlay is a series of stitches laid down before the top stitches. It has three key jobs:
Stabilizes the Fabric: It anchors the fabric to the stabilizer, preventing shifting and puckering.
Provides a Base: It creates a raised surface for the top stitches to lie on, resulting in a smoother, more professional finish.
Manages Tension: It helps prevent the top stitches from sinking into the fabric, which can distort the design and cause the fabric to show through.
A design without underlay will often pucker, pull, and look flat and unprofessional.
How to avoid it:
Always Use It: Never disable the underlay function in your software.
Match Underlay to the Fabric: Different fabrics need different underlay. Dense woven fabrics might need less, while stretchy knits need more support.
Match Underlay to the Stitch Type: Large fill areas typically need a grid-like underlay, while column stitches work well with a simple center-run or edge-run underlay.
The Bottom Line: Never underestimate the power of a good foundation. Proper underlay is what separates amateur-looking results from professional ones.
Mistake #4: Using Incorrect Stitch Types and Densities
Not all stitches are created equal. Using a fill stitch for a tiny letter or a satin stitch for a large background will create a host of problems. This mistake directly impacts the aesthetics and physical integrity of your design.
Why it’s a problem:
Satin Stitches: Best for details, text, and borders. If used on a large area, they become unstable and can easily snag.
Fill Stitches: Designed to cover large areas. If the density is set too high, the design becomes stiff and cardboard-like. If set too low, the fabric shows through.
Density Issues: Too many dense stitches in one area can actually cut the fabric or cause excessive puckering due to thread tension.
How to avoid it:
Choose Wisely: Use satin stitches for narrow elements (under 0.5 inches) and fill stitches for broader areas.
Adjust Density: Learn how to adjust stitch density in your software. Lower densities are better for stretchy fabrics and large areas.
Vary Stitch Direction: Change the angle of fill stitches in different sections of your design to create visual interest and reduce pull.
The Bottom Line: Thoughtful selection of stitch types and densities is crucial for creating a design that looks good and feels good on the fabric.
Mistake #5: Skipping the Test Stitch-Out
You’ve cleaned up your image, manually digitized it, set the perfect underlay, and adjusted your densities. You’re excited, so you load your expensive fabric and hit start. This is the biggest gamble of all.
Why it’s a problem:
Even the most expertly digitized design can behave differently on various fabrics. A small issue that is invisible on-screen—like a tiny jump stitch that’s too long or a density that’s slightly off—can ruin a project. You might discover thread breaks, puckering, or alignment issues only when it’s stitching.
How to avoid it:
Always Test First: Make it an unbreakable rule. Never stitch a new, untested design directly onto your final project.
Use Similar Fabric: Test on the same type of fabric and with the same stabilizer you plan to use for the final piece. A design that works on denim may fail miserably on a knit beanie.
Inspect and Learn: Examine your test piece closely. Look for puckering, gaps, registration issues, or any thread breaks. Use this information to go back and tweak your EXP file before the final run.
The Bottom Line: The test stitch-out is your cheapest insurance policy. It saves you time, money, and heartbreak by catching problems before they ruin your project.
Conclusion: Patience Leads to Perfect Stitches
Converting a JPG to an EXP file is a rewarding process, but it demands respect for the craft. The goal isn’t just to change a file extension; it’s to create a set of instructions that will guide your machine to produce beautiful, durable embroidery.
By avoiding these five common mistakes—starting with a poor image, over-relying on auto-digitize, ignoring underlay, using wrong stitches, and skipping a test—you set yourself up for success. Remember, the best digitizers are those who blend technical knowledge with artistic judgment. Take your time, be meticulous, and learn from each stitch. Your embroidery machine is a powerful tool, and with a well-crafted EXP file, you can unlock its full potential.


