HP Setup Guide is the go-to resource for anyone stepping into the world of HP devices for the first time. Whether you’ve just purchased a new HP printer, laptop, or desktop, understanding the correct setup process ensures smooth performance, long-lasting functionality, and better user experience. Many users make simple setup mistakes that lead to device errors, connectivity problems, or performance slowdowns. In this comprehensive guide by Protech Advisor, we’ll walk you through every step to ensure your HP device is properly installed, configured, and optimized for daily use.
Why a Proper HP Setup Matters
Setting up your HP device correctly is more than just plugging in cables or pressing the power button. A complete setup ensures your device operates efficiently, securely, and is compatible with your existing network or operating system. Proper setup also prevents technical issues like driver mismatches, connectivity failures, and software conflicts.
A well-configured HP system enhances your productivity and minimizes troubleshooting down the line. Whether you’re a student, a professional, or a small business owner, taking time to perform a complete setup guarantees long-term reliability and seamless performance.
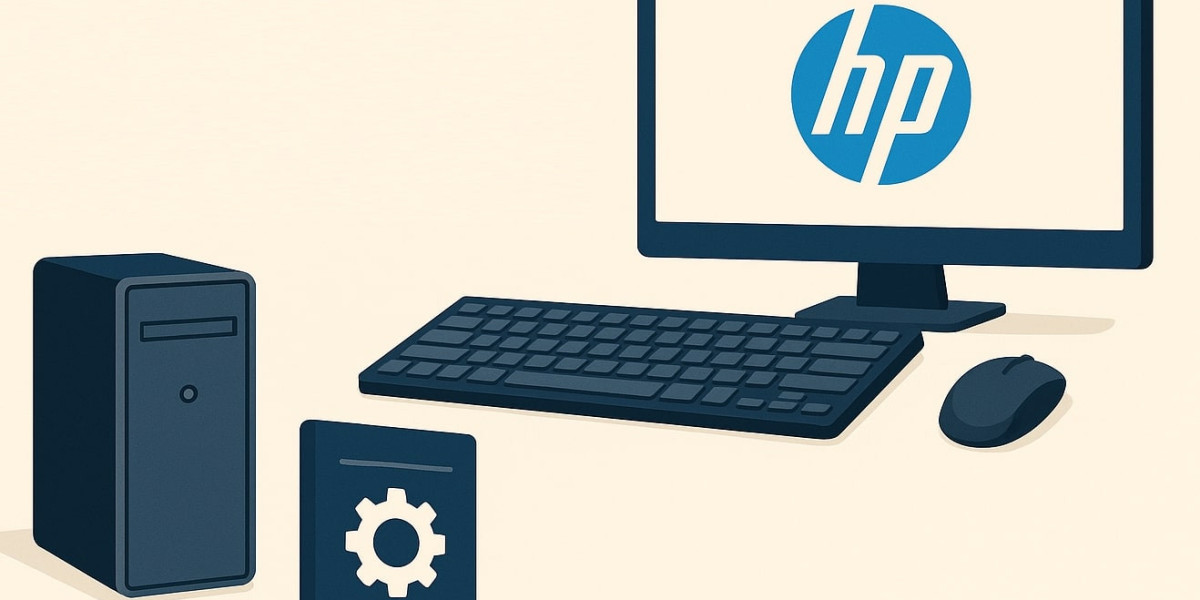
Step 1: Unboxing and Hardware Setup
When unboxing your HP device, handle all components carefully. Here’s how to do it right:
Unpack everything – Remove the device and all accessories (cables, manuals, cartridges, etc.) from the box.
Check for damage – Inspect for any visible damage during shipment.
Position correctly – Place your device on a flat, clean surface with enough ventilation.
Connect power and peripherals – Attach the power cord, mouse, keyboard, and monitor (for desktops). For printers, install ink or toner cartridges and load paper.
Once all components are connected, power on the device to ensure basic functionality before proceeding to software setup.
Step 2: Installing HP Software and Drivers
Every HP device needs compatible software and drivers to function correctly. HP provides the latest drivers and setup utilities through its official website.
Visit the official HP Support website.
Select your device type (printer, laptop, desktop, etc.).
Enter your model number and operating system version.
Download and install the recommended drivers and utilities.
HP’s Smart App is also an excellent tool that simplifies printer setup and driver installation. For laptops and desktops, ensure BIOS updates and Windows drivers are also up to date for improved performance and security.
Step 3: Network and Wi-Fi Configuration
Connecting your HP device to Wi-Fi or Ethernet ensures seamless printing, software updates, and online access. Here’s how to do it efficiently:
For printers: Access the control panel or HP Smart App, select your Wi-Fi network, and enter the password.
For laptops/desktops: Go to the network settings, choose the available Wi-Fi, and connect securely.
For Ethernet connections: Simply plug the cable into the LAN port and confirm network access.
Always use a stable and secure network to avoid connectivity issues. HP devices perform best with strong and consistent internet connections, especially when syncing cloud services or receiving automatic updates.
Step 4: HP Account Setup and Device Registration
Registering your HP device unlocks a range of benefits such as warranty tracking, faster technical support, and access to exclusive updates.
Visit the HP Registration Portal.
Sign in or create an HP account using your email.
Enter the product details or serial number.
Complete the registration and note down your warranty information.
This step also allows HP to send important updates or patches related to your device, improving security and stability over time.
Step 5: Customizing Settings for Better Performance
Once your HP device is connected and registered, the next step is customization. Tuning the settings ensures an optimized experience tailored to your specific needs.
For HP Laptops or Desktops:
Power Settings: Adjust sleep and performance settings for energy efficiency.
Display Settings: Calibrate brightness and resolution for comfort.
Security: Enable Windows Defender or HP Wolf Security for protection.
Storage Optimization: Run disk cleanup and enable system restore.
For HP Printers:
Paper and Quality Settings: Choose paper type and print quality.
Default Printer Setup: Set your HP printer as the default.
Cloud Printing: Enable mobile printing via HP Smart or Google Cloud Print.
Taking time to personalize your settings can make a big difference in daily productivity and device longevity.
Step 6: Installing Essential Applications
HP provides a range of helpful software tools to enhance functionality and simplify maintenance:
HP Smart App: Manage printing, scanning, and troubleshooting remotely.
HP Support Assistant: Keeps your drivers and software up to date automatically.
HP Audio Control: Customize sound settings for better multimedia experiences.
HP Command Center: Optimize thermal and power performance for laptops.
Installing these applications can improve efficiency and streamline maintenance, especially for new users unfamiliar with HP’s ecosystem.
Step 7: Backing Up and Data Protection
Before you start using your HP device fully, it’s crucial to set up backup and data protection. HP devices support multiple backup options such as Windows Backup, HP Cloud Recovery, and external drives.
Create system restore points.
Back up essential files using HP Cloud Recovery or OneDrive.
Set up automatic weekly backups for critical data.
Use reliable antivirus or security tools to protect against malware.
Regular backups ensure your data remains safe from accidental loss, system crashes, or hardware failure.
Step 8: Troubleshooting Common HP Setup Issues
Even with a perfect setup, you might face occasional technical issues. Here are a few quick fixes:
Device Not Recognized: Reconnect cables and reinstall drivers.
Printer Offline: Restart printer, check Wi-Fi connection, or reset network settings.
Slow Performance: Update drivers and remove unnecessary startup apps.
Software Crashes: Run HP Support Assistant to detect and fix software conflicts.
If problems persist, HP’s automated diagnostic tools can identify errors and suggest instant fixes.
Step 9: Keeping Your HP Device Updated
Regular updates are vital for security, compatibility, and performance. HP frequently releases firmware and software updates to address bugs and enhance features.
Enable automatic updates via HP Support Assistant.
Periodically check the HP driver page for new versions.
Keep your operating system updated for maximum compatibility.
Neglecting updates can lead to software errors, security vulnerabilities, and reduced device efficiency.
Step 10: Final Setup Tips for Long-Term Use
To ensure long-lasting performance, follow these best practices:
Clean your device regularly to prevent dust buildup.
Avoid power fluctuations by using surge protectors.
Schedule monthly maintenance checks using HP utilities.
Store your warranty and registration details securely.
Taking care of your HP device ensures it continues to perform at its best for years to come.
Conclusion: Get Help from Protech Advisor and HP Support
Setting up your HP device doesn’t have to be complicated. By following this Ultimate HP Setup Guide, you’ll ensure that your printer, laptop, or desktop runs efficiently from day one. From installing drivers to customizing your settings, every step contributes to smoother performance and enhanced security.
If you encounter any issues during or after setup, Protech Advisor is here to help with expert solutions for troubleshooting, installation, and optimization. For complex technical concerns or warranty-related queries, always reach out to HP support for professional assistance and genuine updates.