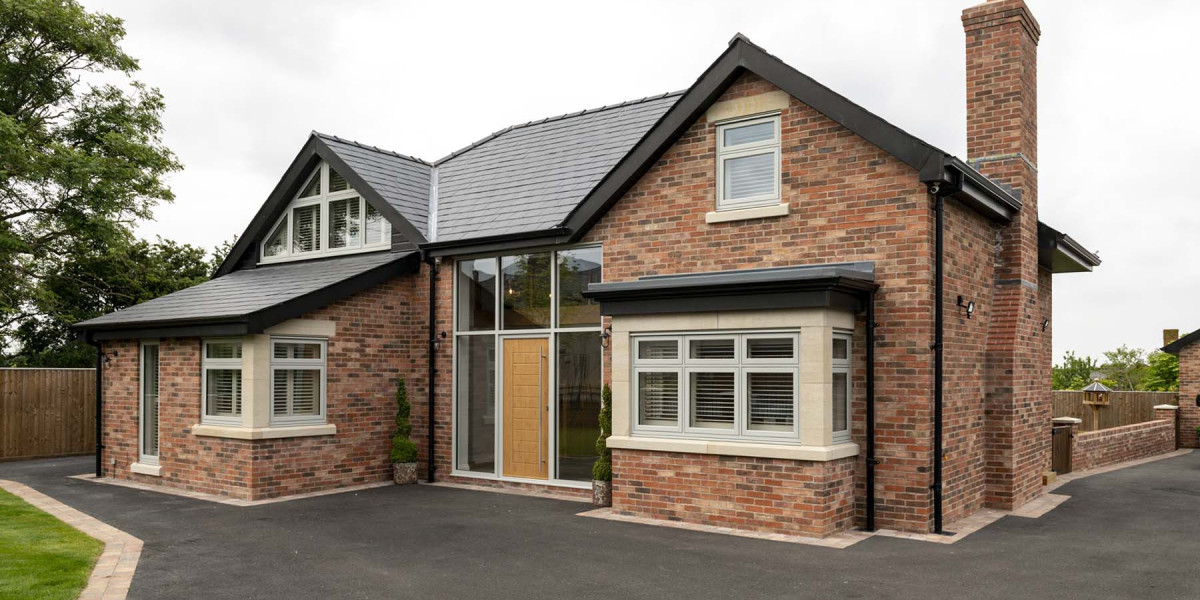
Bifold doors have become increasingly popular in modern homes due to their ability to seamlessly connect indoor and outdoor spaces while maximizing natural light. The installation of bifold doors, however, requires careful planning and execution to ensure they function properly and enhance the aesthetic appeal of your home. This article will guide you through the process of bifold door installation, covering everything from pre-installation considerations to the final touches.
Understanding Bifold Doors
Bifold doors consist of multiple panels that fold back against each other when opened. They are available in various materials, including wood, aluminum, and PVC, and can be customized to fit different openings. Bifold doors are ideal for patios, balconies, and large openings, providing an unobstructed view and easy access to outdoor spaces.
Pre-Installation Considerations
Before you begin the installation process, there are several factors to consider:
- Choosing the Right Door: Select bifold doors that match your home’s style and meet your functional requirements. Consider factors such as energy efficiency, security features, and ease of operation.
- Measuring the Opening: Accurate measurements are crucial for a successful installation. Measure the height and width of the opening where the bifold doors will be installed. Ensure that you account for any flooring or threshold variations.
- Assessing the Site: Check the structural integrity of the wall where the doors will be installed. Ensure that there are no obstructions, such as electrical wiring or plumbing, and that the area is level.
- Gathering Tools and Materials: Prepare all necessary tools and materials before starting the installation. Common tools include a level, drill, screwdriver, measuring tape, and a saw. Additionally, ensure you have the bifold door kit, which typically includes the door panels, tracks, hinges, and hardware.
Step-by-Step Installation Process
Step 1: Prepare the Opening
Begin by removing any existing doors or frames from the opening. Clean the area to ensure a smooth installation surface. If necessary, make any structural modifications to accommodate the bifold door frame.
Step 2: Install the Top Track
The top track is essential for the bifold doors to function properly. Use a level to mark the position of the track on the wall above the opening. The track should be installed at a height that allows the doors to open and close without obstruction.
Drill pilot holes for the screws and then secure the track to the wall using the provided hardware. Ensure that the track is straight and level, as any misalignment can cause the doors to operate poorly.
Step 3: Install the Bottom Track
Next, install the bottom track along the floor of the opening. Similar to the top track, use a level to ensure it is straight. The bottom track helps guide the doors and prevents them from swinging out of alignment.
If your flooring is uneven, you may need to add shims or adjust the track height to achieve a level installation. Secure the bottom track with screws, ensuring it is firmly in place.
Step 4: Hang the Door Panels
With the top and bottom tracks installed, it’s time to hang the door panels. Start with the first panel by inserting the top rollers into the top track and aligning the bottom guide with the bottom track. Carefully lift the panel into position and ensure it is securely attached.
Continue this process for the remaining panels, ensuring that each one is properly aligned and operates smoothly. It may be helpful to have a second person assist with this step, as the panels can be heavy and unwieldy.
Step 5: Install the Hinges and Handles
Once all door panels are hung, install the hinges that connect the panels together. Follow the manufacturer’s instructions for proper placement and alignment. After the hinges are secured, install the handles on the panels for easy operation.
Step 6: Adjust the Doors
After all panels are installed, it’s important to make any necessary adjustments to ensure smooth operation. Check that the doors open and close without obstruction and that there are no gaps between the panels. Most bifold doors come with adjustable rollers that can be used to fine-tune the height and alignment of the panels.
Step 7: Seal and Finish
To enhance the energy efficiency of your bifold doors, apply weatherstripping around the edges of the door frame. This will help prevent drafts and improve insulation. Additionally, consider adding a threshold seal to the bottom track to further minimize air leakage.
Finally, inspect the installation for any gaps or imperfections. Touch up any areas that need paint or finish to match your home’s decor.
Maintenance Tips
To ensure the longevity and optimal performance of your bifold doors, regular maintenance is essential. Here are a few tips:
- Clean the Tracks: Regularly remove debris and dust from the top and bottom tracks to prevent obstruction. Use a vacuum or a damp cloth to keep them clean.
- Lubricate the Rollers: Periodically apply a silicone-based lubricant to the rollers to ensure smooth operation.
- Inspect for Damage: Regularly check the door panels, hinges, and https://idealglass.uk.com/sliding-doors/st-albans (https://www.simpra.org:3000/garfield06o865) tracks for any signs of wear or damage. Address any issues promptly to avoid further complications.
Conclusion
Installing bifold doors can significantly enhance the functionality and aesthetic appeal of your home. By following this comprehensive guide, you can ensure a successful installation that provides years of enjoyment. Whether you’re a seasoned DIY enthusiast or a first-time installer, careful planning and execution will yield beautiful results that seamlessly connect your indoor and outdoor spaces.


