HP printers are known for their reliability and performance, but like any electronic device, they may occasionally display printhead errors. These issues can interrupt your workflow, delay important tasks, and cause frustration. Fortunately, with the right guidance and troubleshooting steps, you can resolve most printhead errors quickly and efficiently. This 123 hp com guide will walk you through practical solutions to fix HP printhead problems and restore your printer’s performance.
Understanding HP Printhead Errors
The printhead is one of the most important components of your HP printer. It is responsible for transferring ink from the cartridges onto the paper. When the printhead becomes clogged, misaligned, overheated, or electrically damaged, your printer may display error messages such as:
“Printhead Missing or Not Detected”
“Printhead Problem”
“Incompatible Printhead”
“Printhead Appears to Be Missing”
“0xc19a” related printhead errors
Poor print quality with streaks or faded text
These errors can occur due to dried ink, improper cartridge installation, outdated firmware, electrical connection issues, or internal hardware faults.
Common Causes of HP Printhead Errors
Before applying fixes, it’s important to understand what may be causing the issue:
1. Clogged Printhead Nozzles
Ink can dry up if the printer is not used regularly. This blocks the nozzles and results in streaked or blank pages.
2. Improper Cartridge Installation
If cartridges are not inserted correctly, the printer may fail to detect the printhead.
3. Dirty Electrical Contacts
Dust or ink residue on copper contacts can prevent proper communication between the cartridge and the printer.
4. Outdated Printer Firmware
Old firmware may trigger compatibility issues with newer cartridges.
5. Hardware Failure
In rare cases, the printhead itself may be defective and require replacement.
Step-by-Step Guide to Fix HP Printhead Errors
Follow these troubleshooting steps carefully to resolve the issue.
Step 1: Restart Your Printer
A simple restart can clear temporary glitches.
Turn off the printer.
Unplug the power cord from the wall outlet.
Wait at least 60 seconds.
Plug the printer back in and turn it on.
Check if the error message disappears.
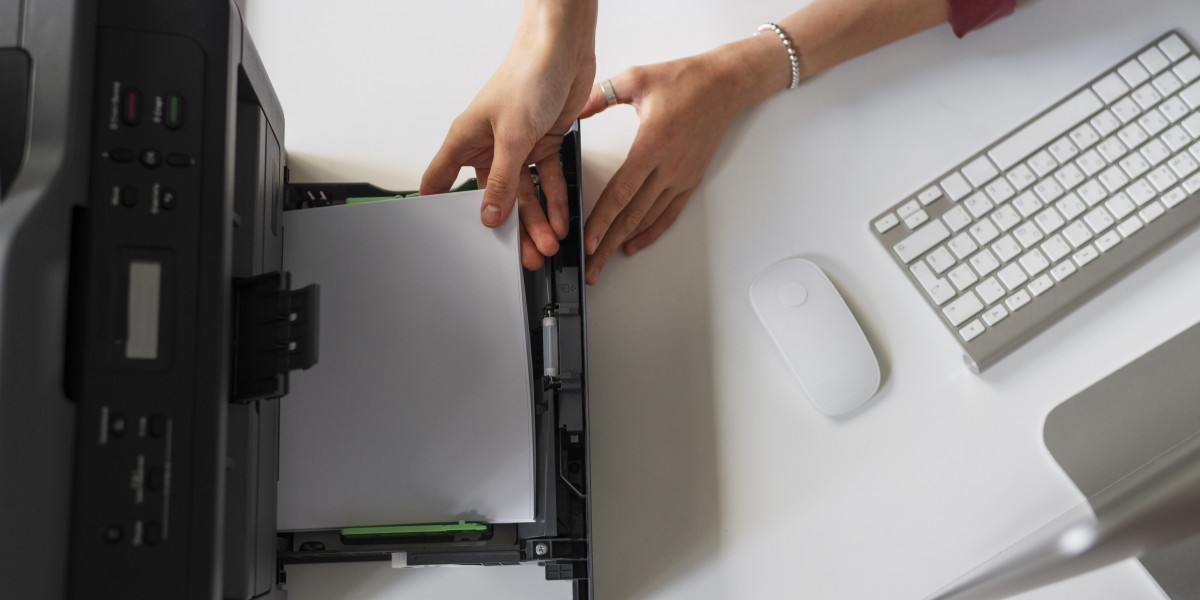
Step 2: Check Ink Cartridges
Incorrectly installed cartridges are a common reason for printhead errors.
Open the printer’s cartridge access door.
Wait until the carriage stops moving.
Remove each ink cartridge.
Inspect them for damage or leaks.
Reinstall them firmly until they click into place.
Ensure you are using genuine HP cartridges compatible with your printer model.
Step 3: Clean Cartridge and Printhead Contacts
Dirty electrical contacts can prevent proper recognition.
Turn off and unplug the printer.
Remove the cartridges.
Use a lint-free cloth slightly dampened with distilled water.
Gently clean the copper-colored contacts on both the cartridges and inside the printer.
Let them dry completely before reinstalling.
Avoid touching the ink nozzles while cleaning.
Step 4: Run Built-in Cleaning Utility
Most HP printers come with an automatic cleaning feature.
Go to the printer control panel.
Navigate to “Settings” or “Tools.”
Select “Clean Printhead” or “Clean Cartridges.”
Allow the printer to complete the cleaning cycle.
You may need to run the cleaning process 2–3 times for better results.
Step 5: Update Printer Firmware
Outdated firmware can cause communication errors.
Connect your printer to a stable internet connection.
Access your printer settings from the control panel.
Check for firmware updates.
Install available updates and restart the printer.
Firmware updates often fix bugs and compatibility problems.
Step 6: Perform a Hard Reset
If basic troubleshooting doesn’t work, try a hard reset:
Turn on the printer.
Disconnect the power cord from the back of the printer.
Unplug it from the wall outlet.
Wait 2 minutes.
Plug it back into the wall and reconnect to the printer.
Turn it on.
This resets internal components and clears minor system errors.
Advanced Troubleshooting for Persistent Errors
If the error continues after basic steps, consider the following:
Replace the Printhead
Some HP printer models allow manual printhead replacement. Check your printer manual for compatibility. Installing a new printhead can resolve internal hardware faults.
Check for Ink System Failure
If you notice multiple cartridge-related messages, the entire ink system may need servicing. In this case, professional repair may be necessary.
Restore Factory Settings
Resetting your printer to factory settings may eliminate persistent software conflicts.
Open printer settings.
Select “Restore Defaults” or “Factory Reset.”
Confirm the action.
Keep in mind this will erase saved Wi-Fi settings and preferences.
Preventing HP Printhead Errors in the Future
Prevention is always better than repair. Follow these tips to avoid recurring issues:
Print Regularly
Use your printer at least once a week to prevent ink from drying inside the printhead.
Use Genuine Supplies
Compatible or refilled cartridges can sometimes trigger printhead detection issues.
Keep the Printer Clean
Dust accumulation can affect internal components. Clean your printer exterior and paper tray regularly.
Maintain Proper Storage
Avoid placing your printer in extremely hot, cold, or humid environments.
Keep Firmware Updated
Regular updates ensure compatibility with cartridges and system improvements.
Signs You Need Professional Help
While many printhead errors can be fixed at home, some signs indicate professional service is required:
Repeated error codes even after reset
Visible physical damage inside the printer
Burning smell or unusual noises
Ink leaking internally
In such cases, contacting HP customer support or a certified technician is recommended.
Why Timely Troubleshooting Matters
Ignoring printhead errors can lead to:
Wasted ink
Poor print quality
Damaged internal components
Increased repair costs
Addressing the issue early ensures smooth performance and extends your printer’s lifespan.
Frequently Asked Questions
Why does my HP printer say printhead missing?
This usually happens due to improper cartridge installation, dirty contacts, or internal connection issues.
Can I manually clean the printhead?
Yes, but be gentle and avoid damaging the nozzles. Always unplug the printer before cleaning.
How long does a printhead last?
With proper maintenance, a printhead can last several years depending on usage.
Is replacing a printhead expensive?
It depends on the model. In some cases, replacing the entire printer may be more cost-effective.
Final Thoughts
HP printhead errors can be frustrating, but they are often easy to resolve with systematic troubleshooting. From cleaning cartridge contacts to updating firmware and performing resets, most issues can be fixed without professional assistance. Regular maintenance, proper cartridge handling, and routine printing help prevent these problems from occurring again.
If you continue experiencing issues despite trying all recommended solutions, consider seeking additional guidance through trusted printer support resources such as 123 hp.com to ensure your device operates smoothly and efficiently.